Showing posts with label bread. Show all posts

Wednesday, May 19, 2010

Cinnamon Rolls

I've been known to make a few cinnamon rolls on occasion.
I've tried so many different recipes - and feel like I've found the best one out there.
My family prefers them without nuts or raisins, but feel free to add them.
****************
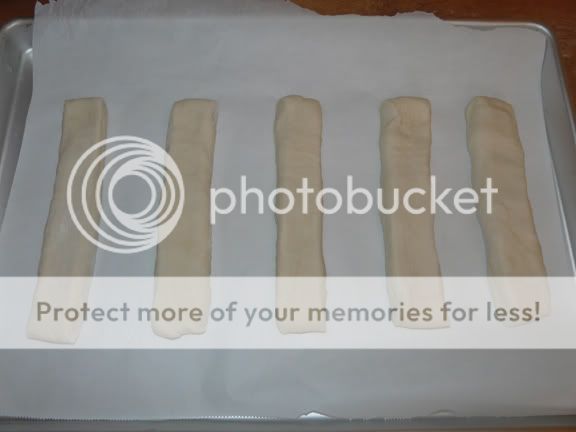
Roll your dough out - it's not a science - into a rectangle
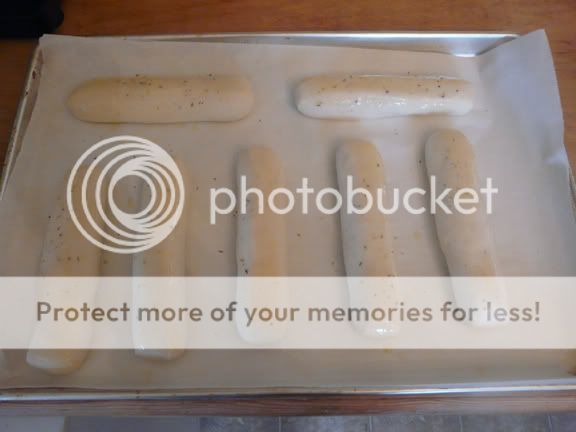
Spread with softened butter, not margarine.

Sprinkle with brown sugar (I add a small sprinkling of white sugar too)

Sprinkle generously with cinnamon

Roll up the dough

Slice into 1 inch pieces, using a sharp knife makes this part much easier

Let them rise in a warm location until doubled in size

Bake until golden

Frost with your favorite frosting or make your own

Eat them!
Best Ever Cinnamon Rolls: (makes approx. 2 dozen)
1/2 c. warm water
2 T. yeast
2 c. milk
1/2 c. butter
1/2 c. sugar + 2 T. for proofing
1 1/2 t. salt
3 eggs
6 cups flour (may take up to 1/2 c. more)
1 c. butter, softened
1 1/2 c. brown sugar (I've never measured, but I make sure all of the dough is covered)
1/2 c. white sugar
Cinnamon - enough to sprinkle generously, maybe 3-4 T.?
Nuts or raisins (optional)
In the large bowl of your Kitchen Aid, mix the water, yeast and 2 T. sugar. While the yeast is proofing, combine the milk, butter, 1/2 c. sugar and salt in a small saucepan. Over low heat, melt the butter, stirring occasionally.
In a small bowl, beat the eggs and temper with the warm milk & butter mixture. Careful not to scramble the eggs - so do it slowly.
Once eggs are tempered and yeast is proofed, add the milk/butter/egg mixture to the yeast. Adding one cup at a time, incorporate the flour. DOUGH WILL BE STICKY. Cover and let it rise until doubled.
Once risen, turn dough out onto a heavily floured surface - roll dough into a rectangle keeping the dough about 1/3 of an inch thick.
Spread softened butter over the surface of the dough. I find the back of a large spoon works really well -
Sprinkle with brown and white sugars, then sprinkle with cinnamon.
Begin rolling up the dough from the long side. Once rolled, let it sit seam side down while you prep your pans.
Grease 2 large pans, mine are 11x15 inch pans and each one fits 12 rolls nicely. You may need additional pans depending on the sizes. You don't want to smash them in or they will have nowhere to rise:(
Cut the long roll into 1 inch pieces and place in the greased pans. Cover with plastic wrap and let rise in a warm place.
Once doubled in size and touching each other, place in the oven, preheated to 350 degrees for 20-25 minutes or until golden brown.
Once cooled, frost with the frosting of your choice. I usually make my own cream cheese frosting.
Bon Appetit!

Friday, May 14, 2010

Raspberry Cream Breakfast Braid

I love-love-love pastries.

I love creating them, making them and eating them.

This one is a culmination of a couple different recipes.

I used the "Amish Bread" recipe for the bread portion and took

the filling from another recipe "Braided Lemon Bread."

I used raspberry jam instead of lemon curd since that's

what I had on hand. I'll include the lemon curd recipe if you'd like

to give it a whirl.


Raspberry Cream Breakfast Braid:


1/2 recipe Amish White Bread recipe for 1 braid, or a full recipe for 2 braids

Amish White Bread: ***these proportions are for the full recipe***

2 c. warm water

1/3 c. sugar

1 1/2 T. yeast

1 1/2 t. salt

1/4 c. vegetable oil

5 1/2 c. flour


Filling: (enough for 1 braid)

4 oz. cream cheese, softened

3 T. sugar

2 T. sour cream

2 T. flour

2 t. lemon juice

1/2 c. raspberry jam or lemon curd

Combine all ingredients except for the jam/curd, in a small bowl, set aside.

Lemon Curd: (enough for 1 braid)

3 T. fresh lemon juice
3/4 t. lemon zest, finely chopped
3 T. sugar
1 large egg
2 T. butter, cut in small pieces

Whisk together lemon juice, zest, sugar and egg in a medium saucepan. Add butter and cook over moderately low heat, whisking often, until curd is thick enough to hold whisk marks and first bubbles appear on the surface - about 5 minutes. Transfer the curd to a bowl and chill, it's surface covered with plastic wrap until cold about 1 hour. Makes just slightly less than 1/2 cup.


************************

For the dough, using a Kitchen Aid mixer fitted with the dough hook, combine the warm water, sugar and yeast - stir to dissolve. After the yeast has proofed and become creamy looking add the oil and salt. One cup at a time, incorporate the flour until your dough comes together, with a little stickiness. You can always add more flour if the dough proves difficult to handle after the first rising.

Cover the bowl with plastic wrap and set in a warm place. Let the dough rise until doubled.

Once doubled, punch the dough down and turn the dough out onto a greased cookie sheet. Using a rolling pin create a rectangle, rolling the dough to somewhere between 1/4 inch - 1/2 inch thick. By looking at the dough, divide your rectangle into thirds and spread the filling mixture down the middle third of your rectangle. Spread the jam or lemon curd on top of the cream cheese filling. To form the braid, cut crosswise strips 1 inch apart down the outer length of your dough, careful not to cut into the middle with the filling.

To begin "braiding" begin by folding the top flap and bottom flap over the filling. Lift the top dough strip diagonally across filling and repeat with the other side, continuing all the way down the dough until you get to the end. At this point tuck to last strip decoratively under the braid.

I like to used melted butter to brush over the braid, but you may use an egg wash if you prefer.

Cover loosely with plastic wrap and set in a warm place to rise until quite puffy, about 45 minutes depending on how warm your "warm spot" is.

Bake at 375 for 25-30 minutes. Let it set for 15-20 minutes, and serve warm. You may also drizzle with frosting or sprinkle with coarse sugar if you like.

Bon Appetit!

Tuesday, May 4, 2010

White Bread

Making bread brings me joy.
Baking in general brings me joy, but bread making is among
my favorite past times.
This recipe is thanks to Allrecipes, a website I love.
It is the perfect sandwich bread, super soft and dense.
After lots of trial and error along with plenty of research, I can also
tell you have to keep it fresh longer.
Once the loaves are cooled...slice them and freeze them.
Then you have but to take out as many pieces as you want and VOILA,
the slices come out wonderfully soft and fresh!
*************************
Perfect crust - perfect middle.
Sandwiches never tasted so good!
Amish White Bread:
2 cups warm water
1/3 c. sugar
1 1/2 T. active dry yeast
1 1/2 t. salt
1/4 c. vegetable oil
5 1/2 c. white flour
In a large bowl, dissolve the sugar in warm water, then stir in yeast. Allow to proof until yeast resembles a creamy foam - about 10 minutes.
Mix salt and oil into the yeast. Mix in flour one cup at a time. Knead dough on a lightly floured surface until smooth, or let your Kitchen Aid do all the work with the dough hook.
Cover the bowl with plastic wrap and let it rise for 1 hour or until doubled in bulk.
Punch dough down. Knead for a few minutes and divide in half. Shape into loaves and place into two well oiled 9x5 inch loaf pans. Allow to rise again until the dough has risen 1 inch above the pans.
Bake at 350 degrees for 30 minutes.
P.S. I still haven't figured out what makes this "Amish" and quite frankly I was a little leary upon first seeing the recipe. Once I found out that it didn't start in a bag and require weeks of babysitting and lots of forgiving neighbors, I decided it was worth trying. Glad I did!
Bon Appetit!

Monday, April 12, 2010

Banana S'more Sandwich

I cannot tell a lie.
This is NOT the picture I took.
My picture didn't make me want to make this again...
But...my kids saying, "you're the BEST Mom ever!" did.

I found this recipe in the Harmon's recipe flyer - I rationalized it's "health" benefits with the addition of banana's to the traditional s'more sandwich.
Give it a shot - your kids will love ya for it:)
****
Banana S'more Sandwich:
Serves 4
8 slices of bread - your choice, I used our homemade whole wheat bread
2 T. butter, softened
4 T. Nutella spread (this was my addition because we didn't have chocolate bars laying around)
***2 chocolate candy bars***this is what the actual recipe called for in place of the Nutella
12 large marshmallows - cut in half
2 large bananas - sliced
Heat a griddle or skillet. Place 1/2 T. butter in pan. Spread each slice of bread with Nutella (or break up chocolate bars evenly over bread.) Do the same with the marshmallows and banana slices. Grill until the bread browns and the marshmallow starts to melt. Flip over and grill other side.
Cut in half and enjoy!
Bon Appetit!

Wednesday, April 7, 2010

Olive Garden Style Breadsticks

I found these tasty breadsticks in my last summer's issue of the Food Network magazine. I haven't been to Olive Garden in ages since they since they are no longer in Canada, so I don't know if they actually taste like their breadsticks, but they are really good and I will be making them often.


1 pkg yeast
4 1/4 C flour
2 T butter, softened
2 T sugar
1/2 T salt

Place 1/4 C warm water in the bowl of a mixer; sprinkle yeast on top and set aside for 5 minutes or until foamy. Add the flour, butter, sugar, salt and 1 1/4 C plus 2 T warm water; mix with the paddle attachment until a slightly sticky dough forms.

Knead the dough by hand on a floured surface until very smooth and soft, 3 or so minutes. Roll into a 2- foot-long log; cut into 16, 1 1/2 inch-long pieces. Shape each piece into a 7-inch-long breadstick; arrange 2 inches apart on a parchment lined baking sheet. Cover with a cloth; let rise in a warm spot until almost doubled, about 45 minutes.


Preheat the oven to 400 degrees.

Melt 3 T butter. Brush on the breadsticks. Sprinkle with garlic salt, and if desired
oregano. I think parmesan cheese would be really good in place or with the oregano. Can't go wrong with cheese!


Bake until lightly golden, 13-15 minutes. Brush with more butter if desired after baking. Enjoy!


Thursday, April 1, 2010

Simple Whole Wheat Bread

Simple.
Don't let that deter you from trying this fantastic bread.
I love to cook, but baking is where my joy truly lies. I make bread all of the time and my kids have been raised on white bread - but I am trying to diversify my usual repertoire. I want to try and include more whole grains, but I've had a hard time finding a recipe
that didn't turn out H-E-A-V-Y.
I've been searching
for a whole wheat bread recipe that my entire family would enjoy.
After 3 failed attempts I struck gold with this one!
It is light and soft and yummy all over.
Here's the run-down:
It makes 3 perfect sized loaves
Let them rise until they peek 1 inch over the top of the pan

Bake - and then brush generously with melted butter.
No margarine people...never margarine.

Slice and enjoy.

This is literally what was left - 10 minutes after they came
out of the oven. My kids LOVED it!

Simple Whole Wheat Bread:

3 c. warm water
2 pkg. yeast
1/3 c. honey
5 c. all-purpose flour
3 T. butter, melted
1/3 c. honey
1 T. salt (very important, don't skimp)
3 1/2 c. whole wheat flour
2 T. butter, melted

In a large bowl combine warm water, yeast and 1/3 c. honey. Add 5 c. all-purpose flour & let it stand for 30 minutes. It will be big and bubbly (if it's not then your yeast has seen better days.)

Mix in the remaining 1/3 c. honey, salt and 3 T. melted butter. Start adding the whole wheat flour 1 cup at a time. Mine took the entire 3 1/2 cups, but yours may take slightly less or slightly more. Mix until it is no longer sticky.

Cover and let it rise until it is doubled.

Divide into thirds and knead it briefly while you shape your loaves.
Put each loaf into a greased 9x5 inch bread pan.

Cover and let rise again until the bread peeks out of the pan - 1 inch.

Bake at 350 degrees for 25-30 minutes.

Bon Appetit!